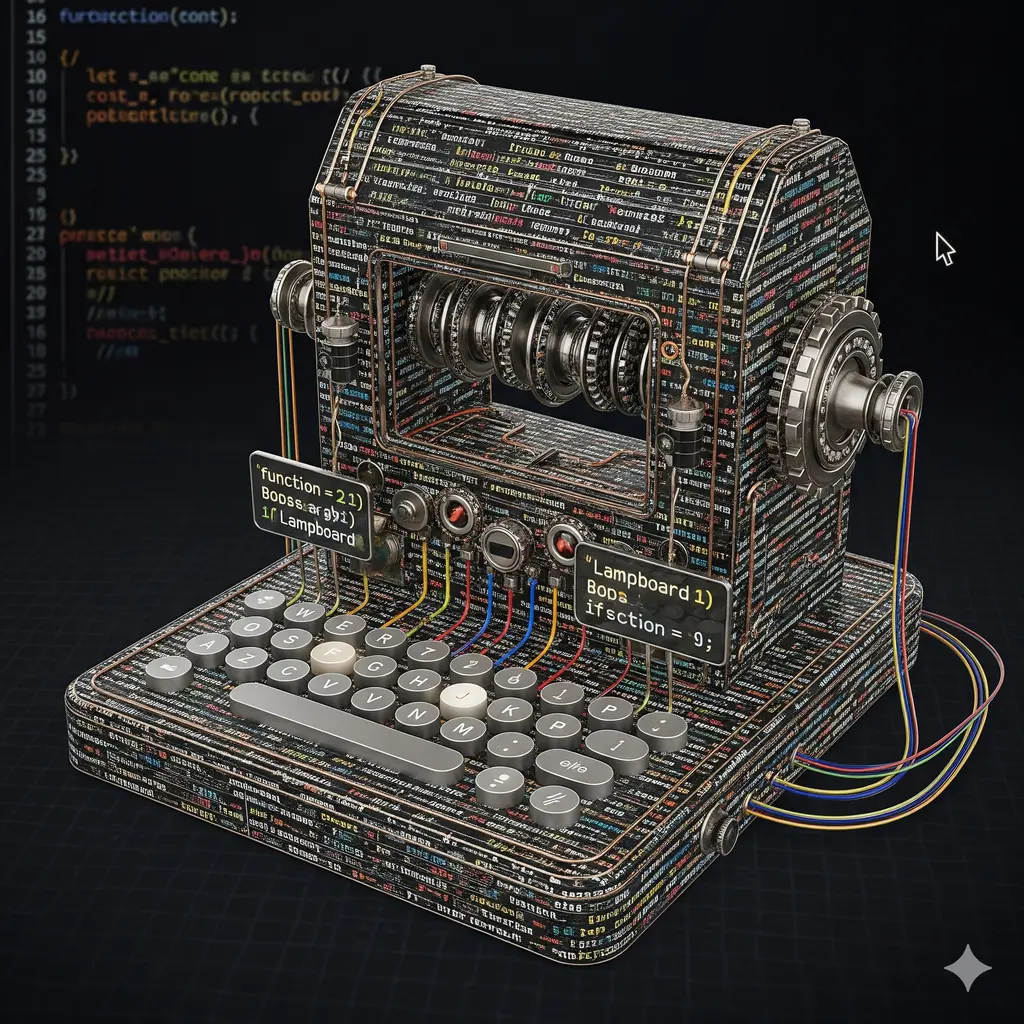
The Enigma machine, a cipher device used extensively by Nazi Germany during World War II, represents a fascinating piece of cryptographic history. Its complex system of rotors, reflectors, and a plugboard made it a formidable challenge for the Allied codebreakers at Bletchley Park.
Inspired by this history, I built my own Enigma machine simulator using JavaScript, which you can find on GitHub. This post explores the mathematical principles behind the Enigma and how they can be emulated in code.
The Mathematics of Permutation
The Enigma is, at its heart, a machine for creating complex permutations. A permutation is a one-to-one mapping of a set of items onto itself. For the Enigma, this set was the 26 letters of the alphabet. Each component of the machine applies a specific permutation to the electrical signal passing through it.
The entire encryption process for a single character can be represented as a composition of these individual permutations.
Enigma’s Core Components as Permutations
-
Plugboard (Steckerbrett -
P): This component swapped up to 13 pairs of letters. If a letter was not part of a swap, it mapped to itself. Mathematically, this is a permutation consisting of a number of 2-cycles (transpositions). For example, if ‘A’ is swapped with ‘B’ and ‘C’ with ‘D’, the permutationPwould be(AB)(CD). An interesting property of the plugboard is that it is its own inverse: applying the permutation twice returns the original letter. So, . -
Rotors (Walzen -
R): The rotors were the heart of the machine. Each rotor performed a fixed permutation of the 26 letters. The military Enigma used three rotors at a time, chosen from a set of five (later eight). Let’s call their permutations . The signal passed through them from right to left. -
Reflector (Umkehrwalze -
U): The reflector was a static, non-rotating component that sent the signal back through the rotors on a different path. It was also a permutation consisting of 13 transpositions and, like the plugboard, was its own inverse (). The reflector’s design ensured that no letter could be encrypted as itself, a critical cryptographic flaw.
The Full Encryption Equation
The path of the electrical signal for a single letter L can be modeled by the
following equation:
Since , the equation simplifies to:
The Crucial Element: Rotor Stepping
The true complexity of the Enigma came from the rotor movement. With each keypress, the rightmost rotor () advanced one position. This changed its permutation. When a rotor hit a specific “turnover” notch, it would cause the rotor to its left to advance. This odometer-like stepping meant that the permutation for each letter of a message was different, creating a polyalphabetic cipher with an astronomically long period.
The total number of possible configurations for a Wehrmacht Enigma is immense:
This breaks down as:
- Choosing 3 rotors from 5:
- Arranging the 3 chosen rotors:
- Choosing the initial rotor positions:
- Choosing the 10 plugboard connections:
Emulating the Enigma in JavaScript
To simulate this in JavaScript, we can represent each component with its permutation mapping.
// Simplified rotor configuration
const rotors = {
  I: {
    wiring: "EKMFLGDQVZNTOWYHXUSPAIBRCJ",
    turnover: "Q", // Turnover notch at 'Q'
  },
  II: {
    wiring: "AJDKSIRUXBLHWTMCQGZNPYFVOE",
    turnover: "E",
  },
  // ... etc.
};

// Reflector B
const reflectorB = {
  wiring: "YRUHQSLDPXNGOKMIEBFZCWVJAT",
};
The encryption function then applies these permutations in sequence, remembering to handle the forward and backward passes through the rotors.
function encrypt(letter) {
  // Note: Rotor positions must be updated before this function is called.

  // 1. Plugboard
  let processedChar = plugboard.process(letter);

  // 2. Rotors (forward pass, right-to-left)
  processedChar = rotor3.forward(processedChar);
  processedChar = rotor2.forward(processedChar);
  processedChar = rotor1.forward(processedChar);

  // 3. Reflector
  processedChar = reflector.process(processedChar);

  // 4. Rotors (backward pass, left-to-right)
  processedChar = rotor1.backward(processedChar);
  processedChar = rotor2.backward(processedChar);
  processedChar = rotor3.backward(processedChar);

  // 5. Plugboard again
  processedChar = plugboard.process(processedChar);

  return processedChar;
}
The most complex part of the simulation is correctly implementing the
advanceRotors() logic, which must account for the standard stepping and the
“double-stepping” anomaly.
This project was a fascinating exercise in understanding the inner workings of the Enigma machine. It’s a great way to get a hands-on understanding of how this iconic cipher machine worked and to appreciate the incredible intellectual achievement of the codebreakers who cracked its code.


Comments